


댓글 쓰기 권한이 없습니다. 로그인 하시겠습니까?
Linux
2012.09.18 20:52
갤럭시 S3 에 Ubuntu Linux 설치하기 (영문)
조회 수 27813 추천 수 0 댓글 3
Your Android device is like a mini computer running on a Linux kernel. Ubuntu, which is also a flavor of Linux, is generally for desktop PCs, netbooks, and laptops. Since Ubuntu relies on the Linux kernel, is it possible to run Ubuntu on an Android device?
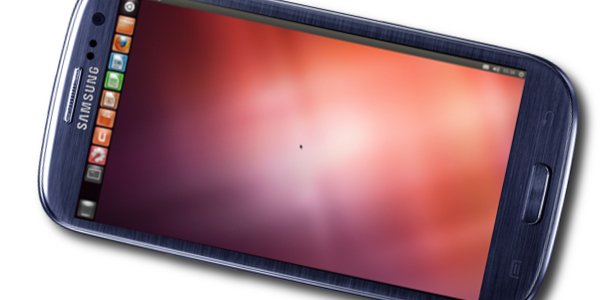
XDA Developers member tiborr answers that question by sharing a guide on how to setup and run Ubuntu on your Samsung Galaxy S3 GT-I9300, which, because of its awesome quad-core power and more-than-enough storage, is capable of running Ubuntu.
Using the Ubuntu Installer app and his edited script, the said developer was able to run the computer-based Ubuntu on a Samsung Galaxy S3 GT-I9300.
Quite a few find it a bit pointless to run a computer-based Linux distro on an Android phone, but we here at Android Authority I think it’s cool to be able to show it off to your geeky friends. Besides, it’s a showcase of the power of Linux and of opensource software in general.
If you want to run Ubuntu on your Samsung Galaxy S3 GT-I9300, continue reading the rest of this guide. Take note that the following steps are not noob-friendly and may need some technical skills and knowledge about Android development.
Warning
- The instructions in this guide are intended for use with the Samsung Galaxy S3, model number GT-I9300. Applying these instructions on another device or model may produce undesired outcomes.
- The information in this guide is provided for instructional and educational purposes only. There is no guarantee that these instructions will work under your specific and unique circumstances.
- Use these instructions at your own risk. We shall not hold any responsibility or liability for whatever happens to you or your device arising from your use of the info in this guide.
- Read and understand the whole guide first before actually performing the instructions.
Requirements
- Samsung Galaxy S3 GT-I9300 with root access and running on a kernel that has loopback support
- If you haven’t rooted your phone, check out this guide on how to root and flash ClockworkMod Recovery on your phone via CF-Root 6.3.
- Users report that the CF Kernel does pack loopback support and works with the setup described in this guide. Other users also report that the setup works even on stock ROMs. If you don’t find this guide working for you, you might want to try installing a custom kernel on your phone.
- Download and install Ubuntu Installer Free to your phone from the Google Play Store.
- Enable USB Debugging on your phone by going to Settings > Developer’s options > USB Debugging
- Backup all personal data on your phone to make sure you have a copy of your personal data (e.g., contacts, SMS, MMS, Internet settings, Wi-Fi passwords, and the like) in case the procedure in this guide erases such data.
- For backup tips, check our guides on how to sync your data to the cloud and how to create local backups of your mobile data.
Instructions
- Launch the Ubuntu Installer Free app. Launching the app will require you to download 3 additional apps:
- Download the Ubuntu image file via the Ubuntu Installer Free app. You will have to choose either the small or large Ubuntu image file.
- You do not need to download the script suggested by the app because, according to tiborr, it doesn’t work with the Samsung Galaxy S3. Download developer tiborr’s edited script (ubuntu.sh, 1.4 kB).
- Using your preferred file manager app (e.g., ES File Explorer or ASTRO File Manager), navigate to your phone’s internal SD card and create a new folder named “ubuntu” (that is, /sdcard/ubuntu)
- Extract the downloaded Ubuntu image file. Move or copy the said file to /sdcard/ubuntudirectory.
- Move or copy tiborr’s ubuntu.sh script into the /sdcard/ubuntudirectory.
- There should be an *.img file and a *.sh file inside the folder.
- Open the Terminal Emulator app and enter the following commands:
sucd /sdcard/ubuntush ubuntu.sh
- After a series of text, the terminal emulator will ask you to enter the screen size. Type
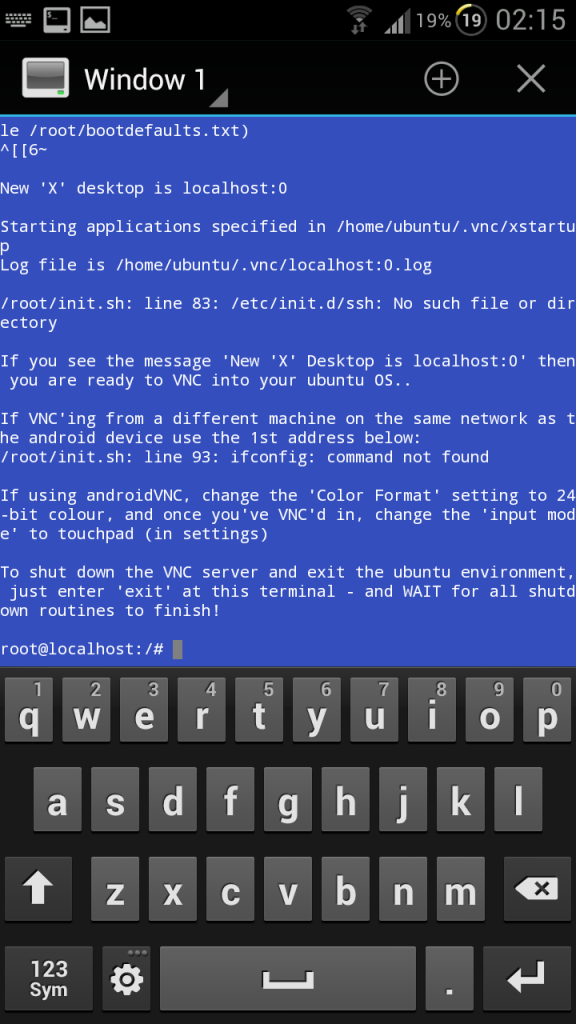
1280x720and press Enter. - On the next screen, a message
Save this as default? (y/n)will appear. Type the commandYif you want to save the screen size andNif you don’t want to save it as a default screen size. Your terminal emulator will then look like this: 
- The script my ask you to setup a password. For our purposes, you can just use
ubuntuas password. - The terminal will act as an Ubuntu command line. To connect to the graphical user interface (GUI), launch the androidVNC app.
- Enter
localhoston the IP address text field. - For port number, specify
5900as the port number. - Enter
ubuntuas password. - Leave all other fields as they are.
- Tap Connect. The GUI will render and you will see the familiar Ubuntu interface.
- To exit, return to the Terminal Emulator session, type
exitat the command line, and wait until everything shuts down.
Alternative Method
If the steps above don’t work or the script isn’t working, you can try the alternative steps below:
- Follow steps 1 and 2 from the procedures above.
- Download this alternative script (ub.zip, 802 bytes).
- Create a folder named “ubuntu” on your phone’s external SD card. The location should be /mnt/extSdCard/ubuntu.
- Extract the downloaded Ubuntu image file and ub.zip to the
ubuntufolder.- There should only be an IMG file and a SH file inside the ubuntu folder.
- Open the terminal emulator and type the following commands:
sucd /mnt/extSdCard/ubuntush ub.sh
- Follow step 8 and onwards from the procedure in the previous section.
Congratulations! You have successfully booted into Ubuntu on your Samsung Galaxy S3 GT-I9300. Show it off to your geek friends! You might just blow them away.
●?Who's Luatic™

-
?
들고다니는서버 환상이네요.
-
lte는 힘들고 3g는 개인블로그 정도 또는 irc서버로 유용합니다.
-
?
와.....;;;;;;;;;;;;;;;;;;
안드로이드가 아닌 우분투 ㅋㅋㅋ;
| 글쓴이 | 분류 | 제목 | 조회 수 |
|---|---|---|---|
| 루아틱 | Apache | 사이트 복사 방지 .htaccess에 추가하세요 | 32620 |
| 루아틱 | Linux | 우분투 12.04 LTS Sever 윈도우에서 우분투로 원격 데스크탑(RDP) 사용하기 3 | 30352 |
| 루아틱 | Linux | Ubuntu 12.04 LTS Java7 설치시 오류 및 오류 해결법 | 30327 |
| Luatic™ | Linux |
갤럭시 S3 에 Ubuntu Linux 설치하기 (영문)
3 |
27813 |
| 루아틱 | Apache | Apache 2 prefork 와 worker 차이 | 23702 |
| 루아틱 | Etc | ftp에서 passive와 active 모드의 차이? 2 | 22601 |
| Luatic™ | PHP |
워드 프레스 사용시 piwik 쉽게 연동 하기
|
21817 |
| 루아틱 | Linux | 우분투 10.04 LTS, sendmail 설치 및 설정 3 | 21127 |
| 루아틱 | Etc | Byte(바이트) 와 bit(비트)의 차이 1 | 19783 |
| Luatic™ | XpressEngine |
루아틱 서버 XE사용시 몇가지 팁
|
19375 |
| 루아틱 | Etc | html 색상표 | 18479 |
| 루아틱 | Etc | 돈한푼 안들이고 내 사이트 만들기 1탄 3 | 18382 |
| 루아틱 | MySQL | mysql DB 백업과 복구 | 17609 |
| 포인트 | Linux | 리눅스 특정확장자 하위디렉토리까지 일괄삭제하기 | 17374 |
| 루아틱 | Apache | 아파치2 에서 mod_cband 사용법 | 17236 |
| 루아틱 | PHP | SSL 보안서버인증 적용하기 - 웹호스팅 (XE) | 17139 |
| 루아틱 | Windows | Windows 2003에서 IIS 6.0 설치(SSL 설정 1) | 16767 |
| Luatic™ | PHP |
XE Cache 적용하기
|
16365 |
| 루아틱 | Linux | 우분투 시간 동기화 하기 | 16061 |
| 루아틱 | PHP | KimsQ RB로 홈페이지+모바일홈피 5분만에 만들기 1 | 15624 |

-
Luatic.co.kr
Copyright © 2010-2023 Luatic.co.kr기본적인 저작권은 루아틱에서 소유합니다. All rights reserved.
- 사이트명: 루아틱|대표: 조종현|고객센터: 070-4922-7001클릭하시면 연락처 검색이 가능합니다.
- 사업장 주소: 부산광역시 서구 망양로 175번길 13-1|이메일: support@luatic.co.kr
- 사업자 등록번호: 617-02-88278클릭하시면 사업자등록 현황을 보실수 있습니다.
-
 루아틱 공식 트위터
  루아틱 공식 페이스북
처음